Try These Foam-Free Floral Mechanics for a Wedding Arbor
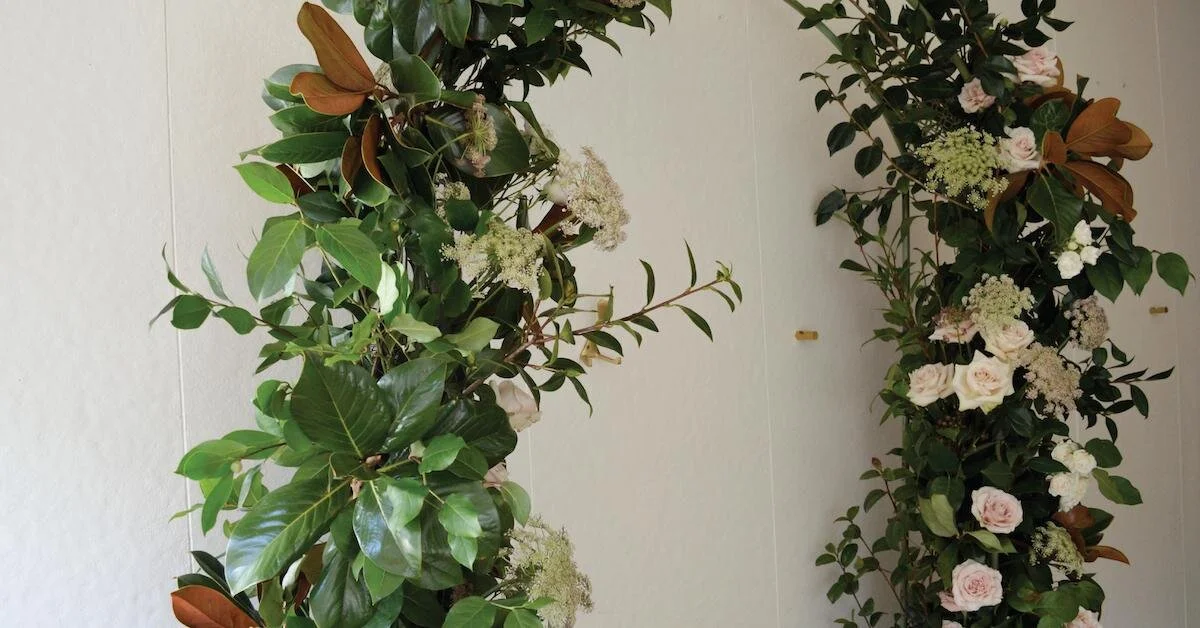
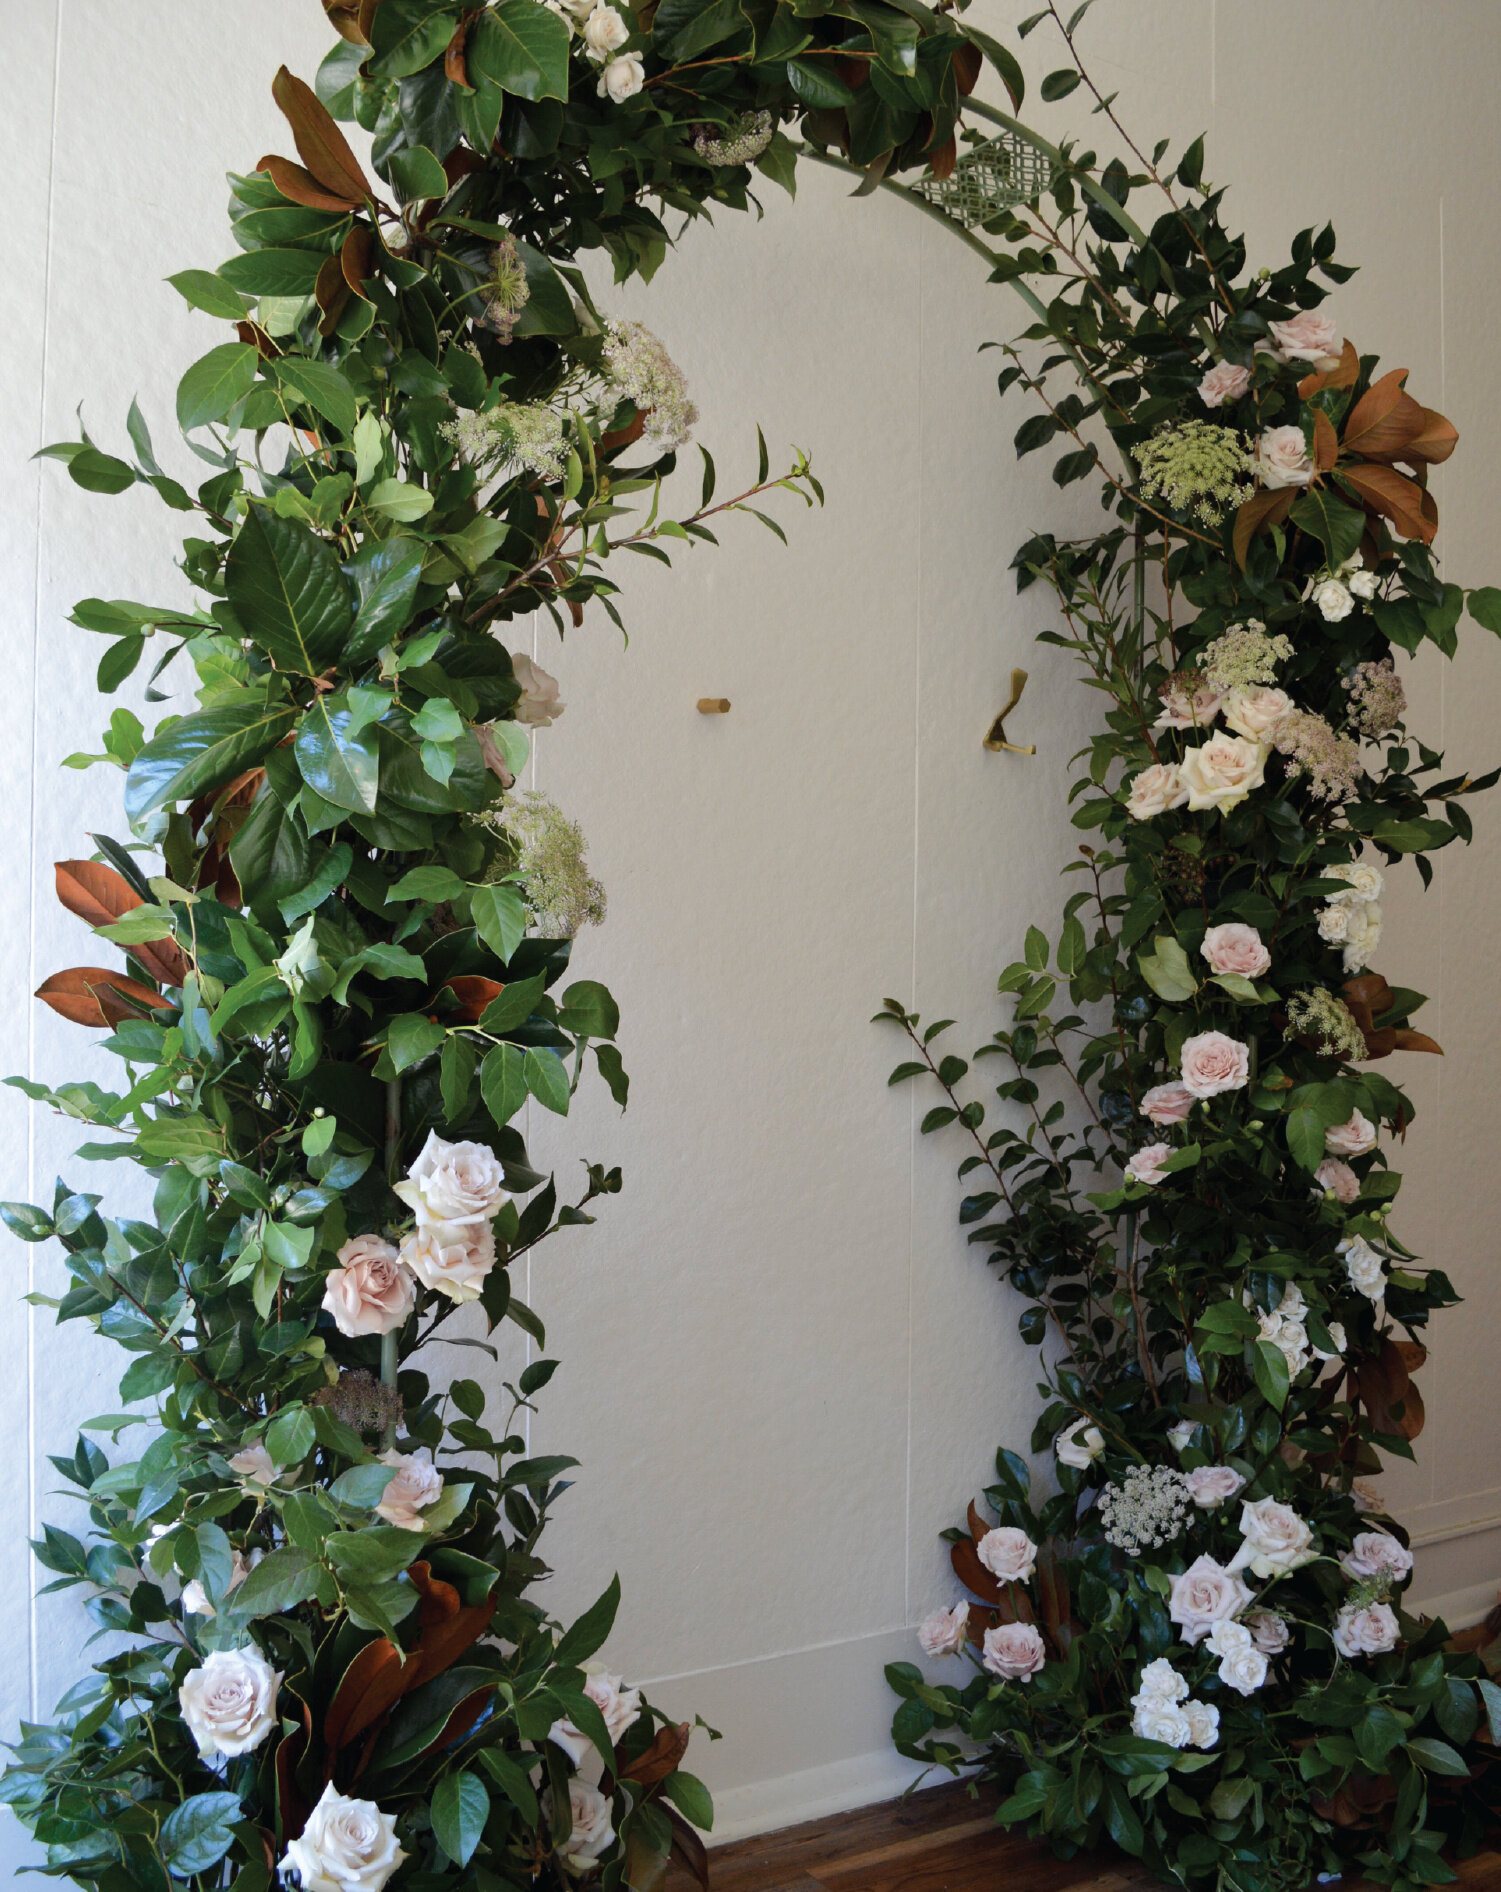
Are you looking for ways to create a wedding arbor without floral foam? There’s no question that our industry is moving toward foam-free floral design work. And personally, I’m a big fan of this movement—both for the environmental and health benefits as well as the impact it has on my design work. I find my centerpieces, arbors, and installs look more natural without a brick of foam at the base.
If you’re looking for reliable and trustworthy floral mechanics for an arbor that are foam free, you’re in the right place. Today, I’m sharing some of the mechanics I’ve adopted for a foam-free arbor. It’s important to note that these are the floral mechanics I’ve picked up over the years that work well for me. By no means is it an exhaustive list! There are plenty of helpful techniques out there, and I encourage you to think outside the box when approaching your own foam free wedding arbor.
Consider this article like advice from a friend. I hope this information will help you get started on the road to finding the best solution for you and your event.
Supplies for a Foam-Free Wedding Arbor
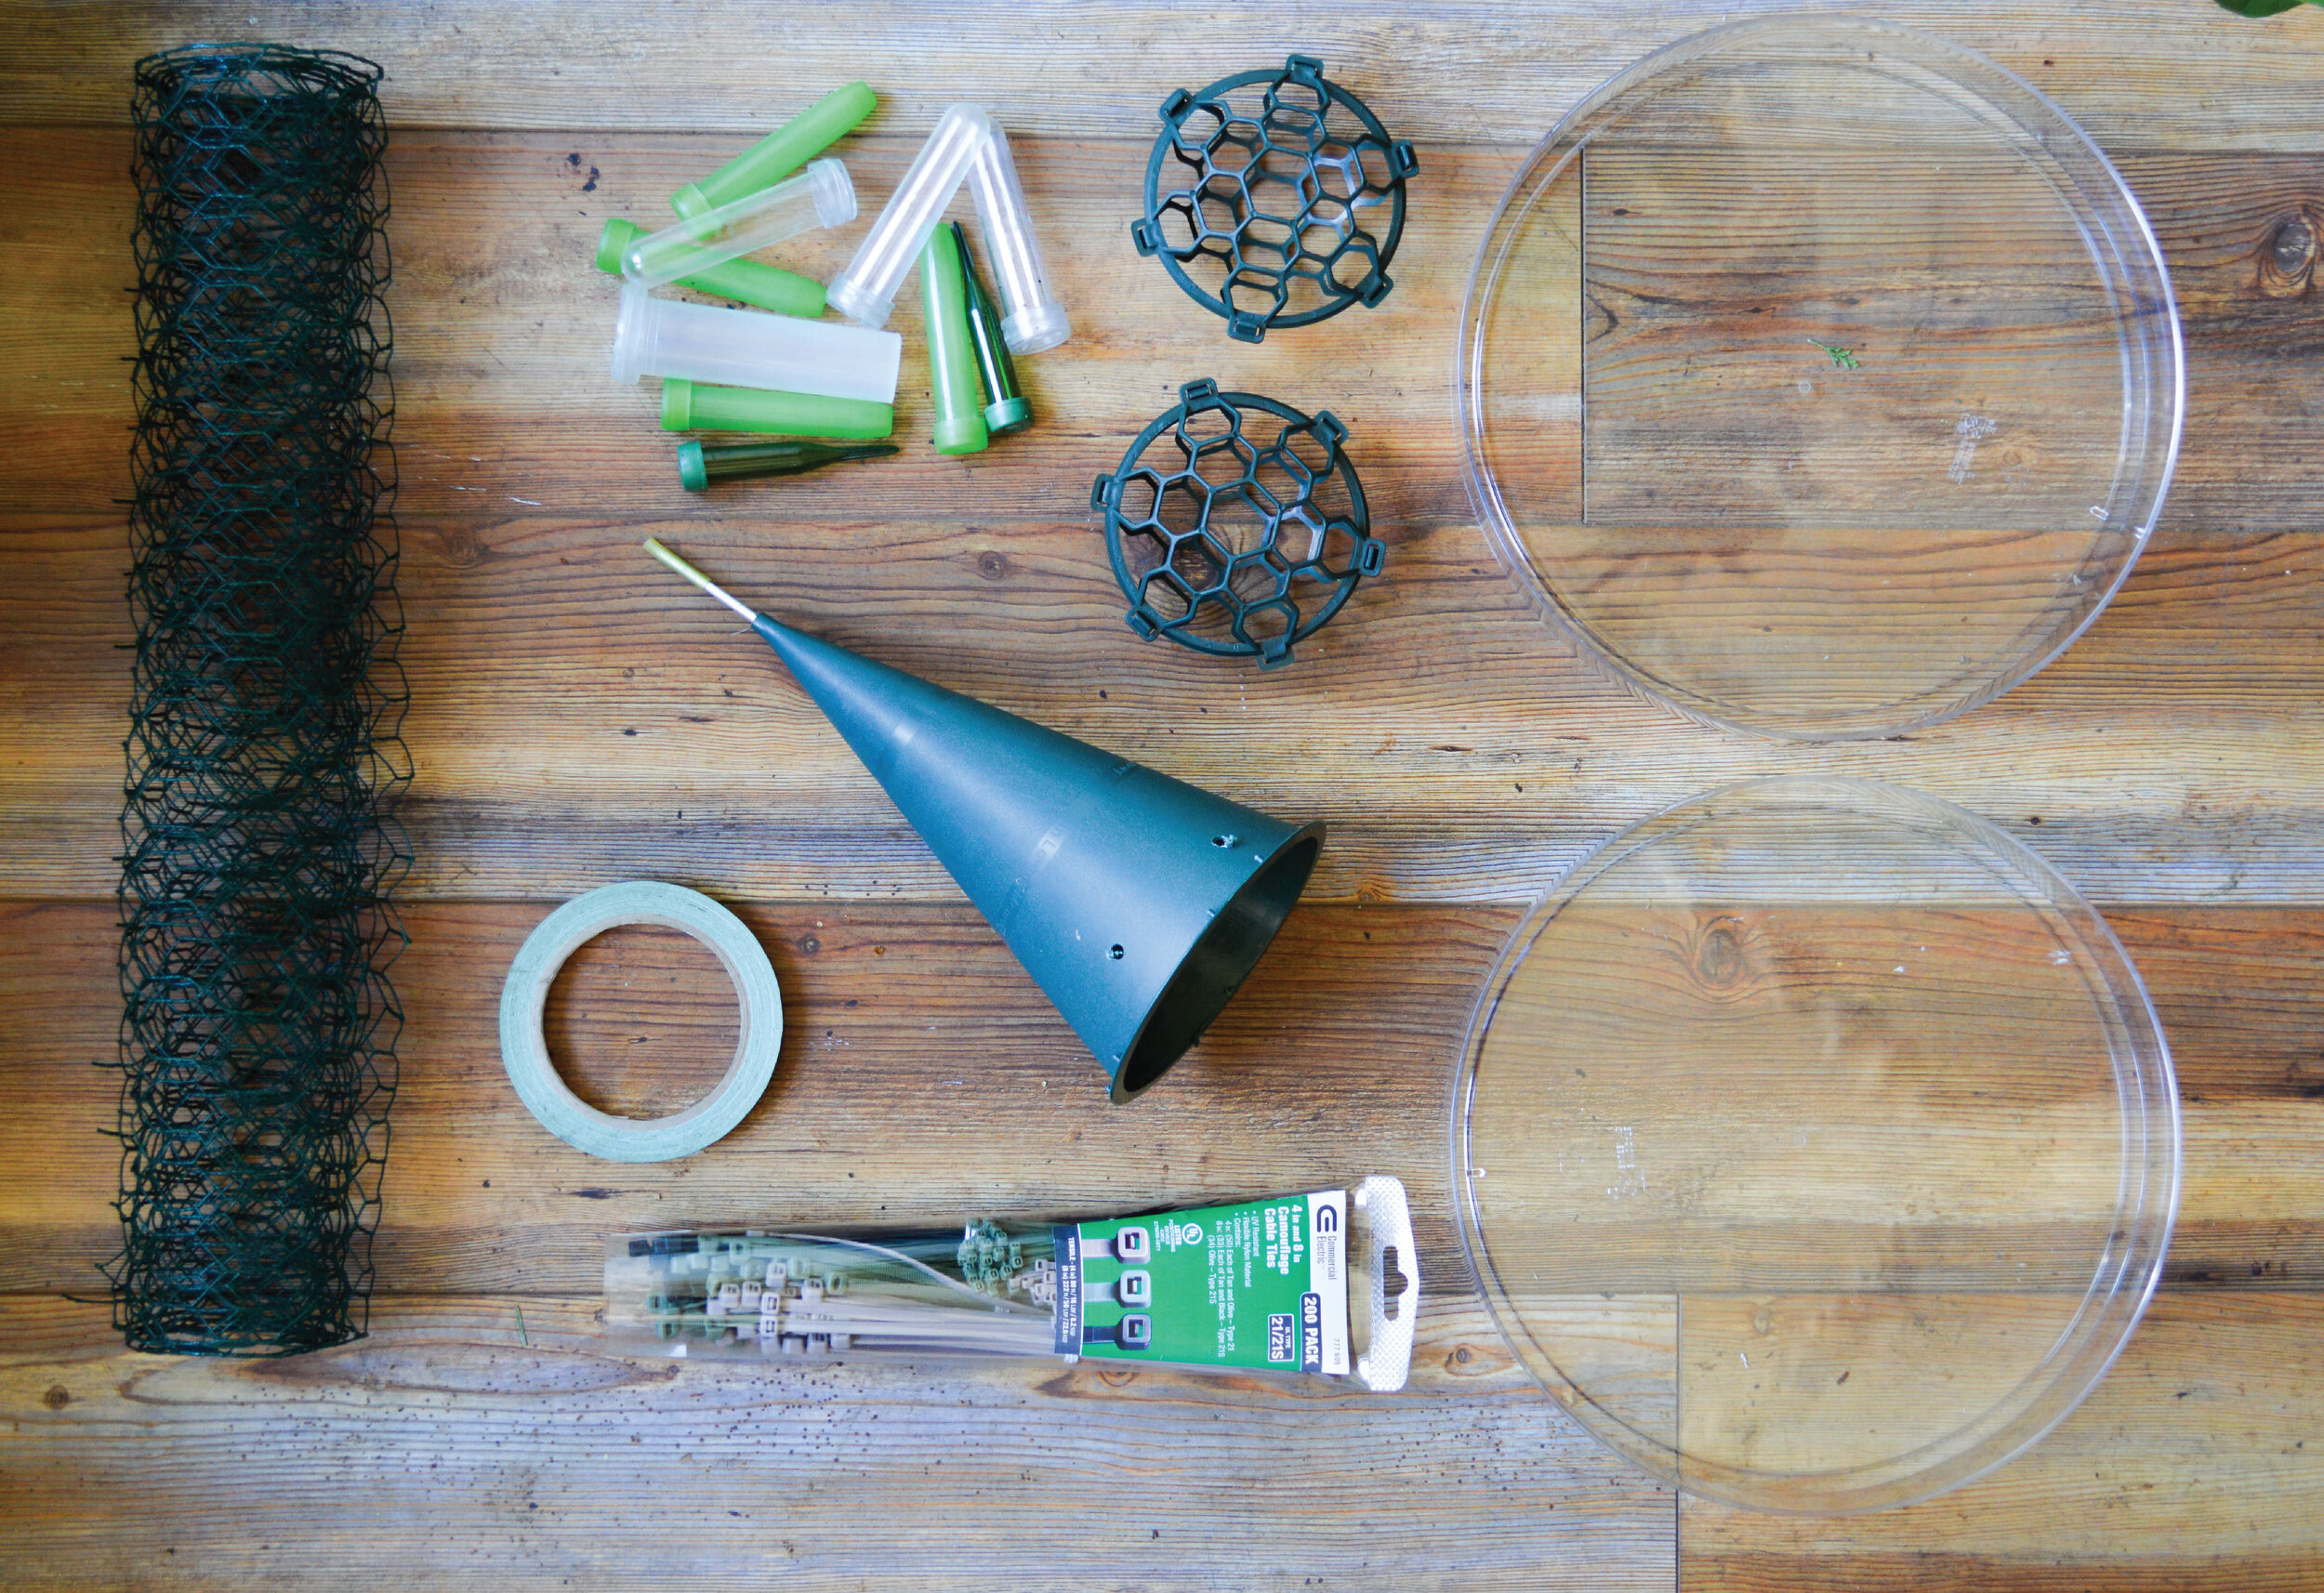
For this arbor, I used the following mechanics and floral supplies:
Variety of water tubes
And I used the following floral materials in this arbor:
5 bunches of salal
3 bunches of camelia (a mix of long and short)
4 bunches of magnolia
40 stems of quicksand rose
10 stems of spray rose
20 stems of Queens Anne Lace
Step One: Build the Base for Your Arbor
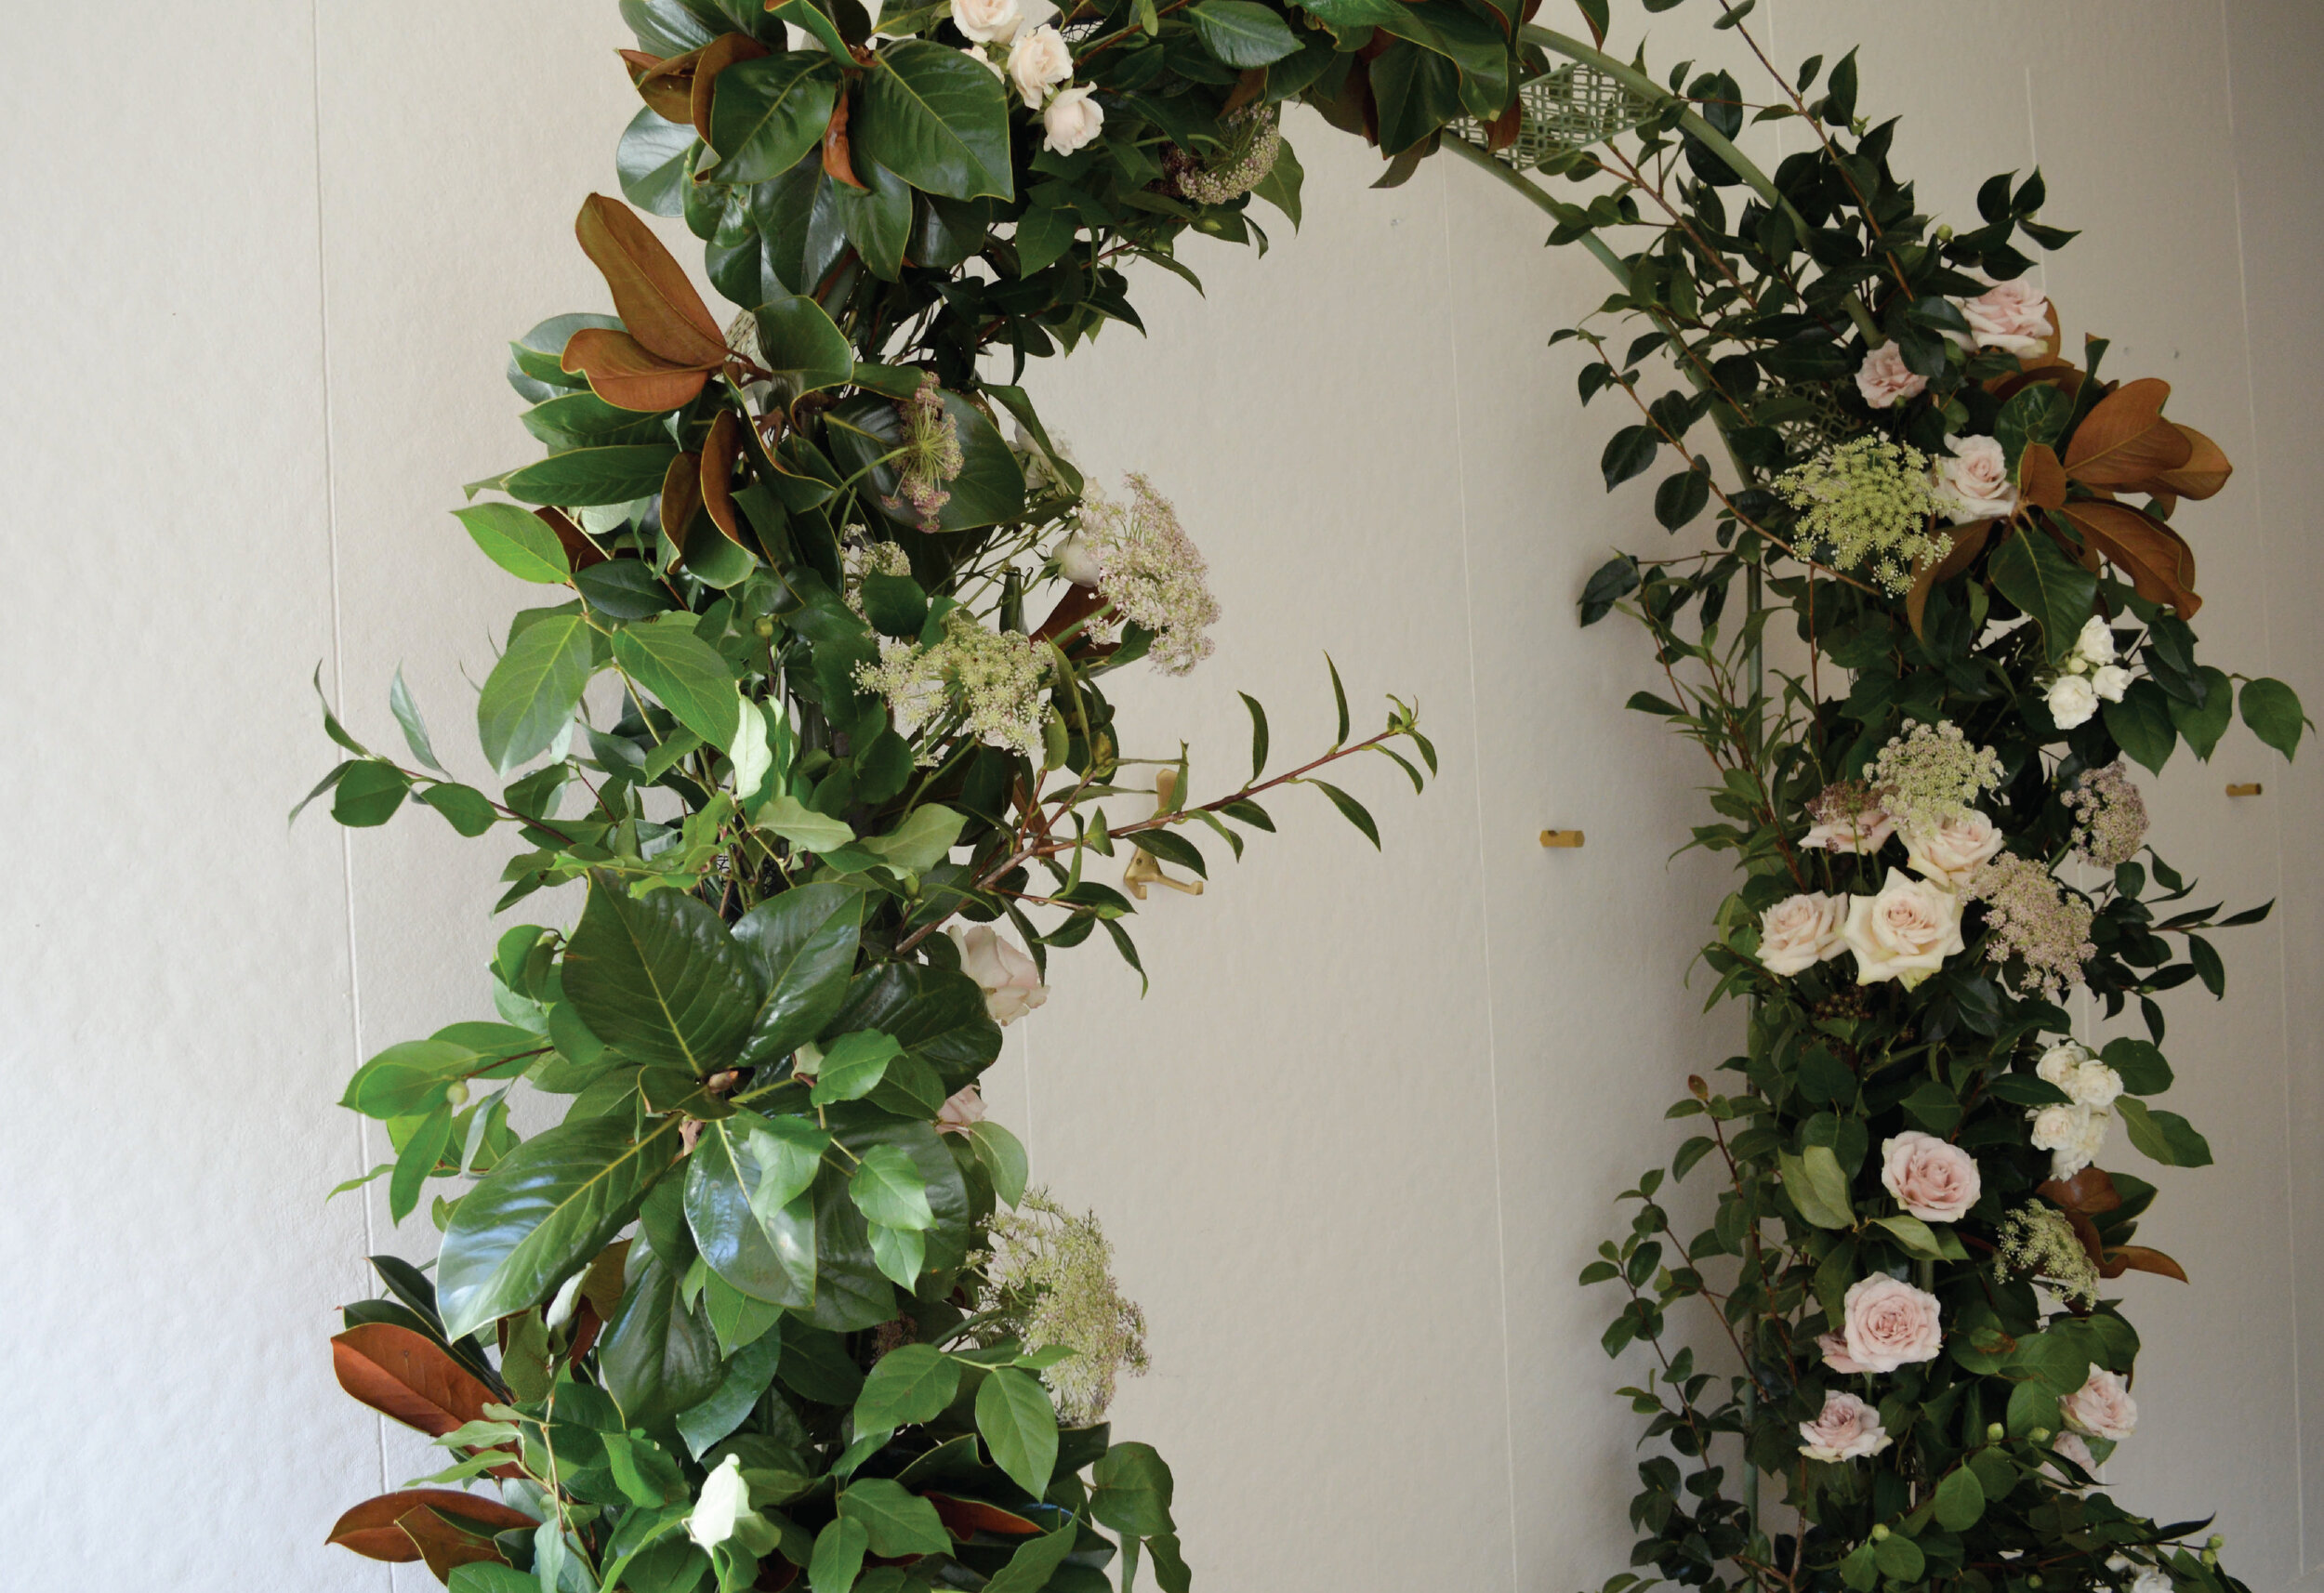
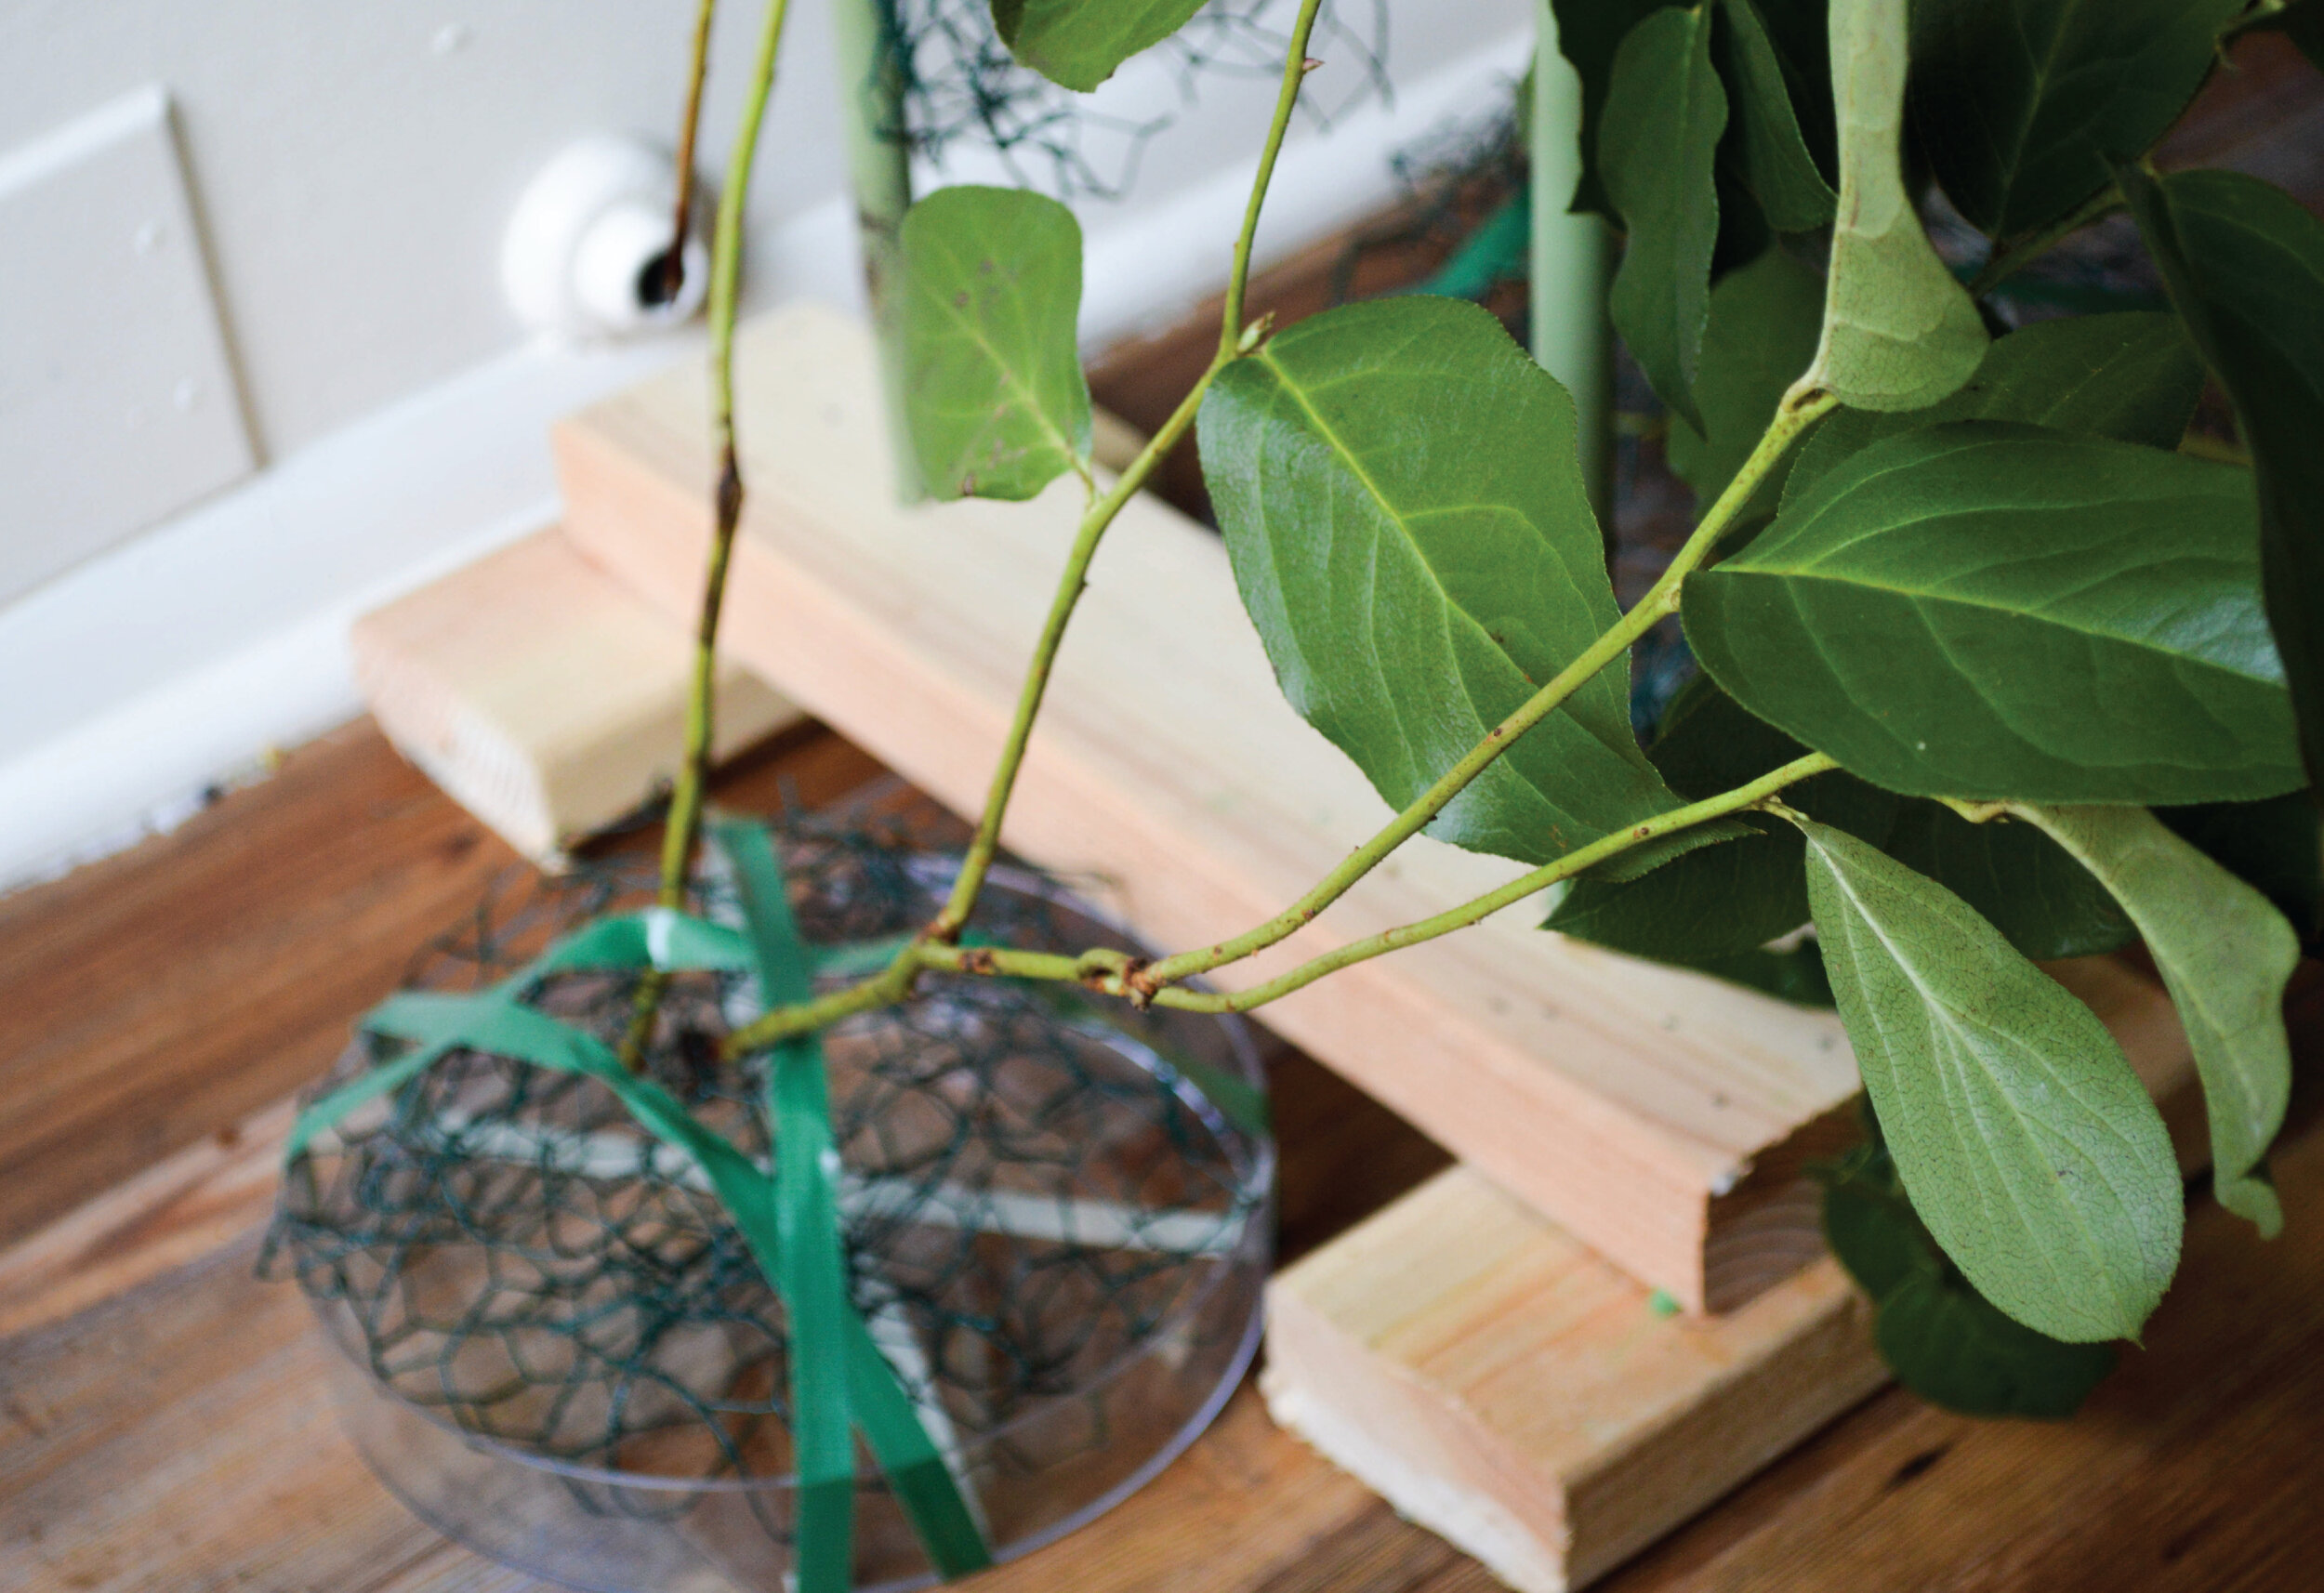
To build my base, I “hot-dog rolled” three long pieces of chicken wire and zip tied them to the frame of my arbor—one on each side, and the third along the top. To cover my wooden base, I balled up one large piece of chicken wire into each design tray and secured the chicken wire in place with waterproof floral tape.
Quick tips: Since I was working with hardy greenery, I knew they could last well out of water. But, you could opt to use a deeper bowl or tray on the floor for an additional water source.
Step Two: Add Greenery to Your Wedding Arbor
Next, I took my hardy greens and stuffed them, stem by stem, into the chicken wire.
Quick tips: Remember to use very hardy greenery, since there is no water source. Also, set aside at least one bunch of greenery to help hide exposed mechanics at the end.
Step Three: Prep The Water Sources for Your Foam-Free Floral Design
After I defined the basic shape of the arbor with greenery, I started to add water sources for my flowers. My primary water sources were three funeral cones, each topped with a Holly Chappel Pillow. I used a drill bit and power drill to punch two horizontal holes into each cone. Then, using these holes, I zip-tied them to the arbor frame. Filled with water, the funeral cones were excellent for large clusters of flowers.
To add flowers outside the funeral cones, I utilized (a whole bunch of) water tubes.
Quick tips: I try to include a few stems per tube and usually prep these in advance of events.
Step Four: Add the Flowers to Your Arbor
Finally, I started placing my flowers. First, I clustered into the funeral cones. Each cone held 10+ stems. Then, like the greenery, I stuffed the water tubed flowers straight into the chicken wire.
Step Five: Edit and Cover Your Floral Mechanics
My last step in designing this foam-free wedding arbor was editing. After assessing shape and movement, I used one bunch of greenery (reserved in Step 2) to cover still-exposed mechanics.
And there you have it—a foam-free arbor. When it’s time to tear down, try to clean and save the funeral cones, water tubes, and even the chicken wire to use on your next design!

